iRecall™
Instant Recall Recorder Software
![]()
SECTION VI. Using ComTekk iRecall
CONTENTS
- Running iRecall
- iRecall Console Screen
- Preferences (Settings)
- Windows Volume Control
- Windows Recording Control
1. Running ComTekk iRecall
If you haven't yet done so, install the software and enter your registration key if you have already purchased a license. iRecall will be fully functional without a license for a 15-day trial period.
Once iRecall has been successfully installed, you may simply double-click the iRecall desktop icon or Click the Windows Start menu, then Programs, choose the ComTekk folder, then iRecall.
Continue on to Section 2 below for detailed description of the buttons and screens.
2. The iRecall Console
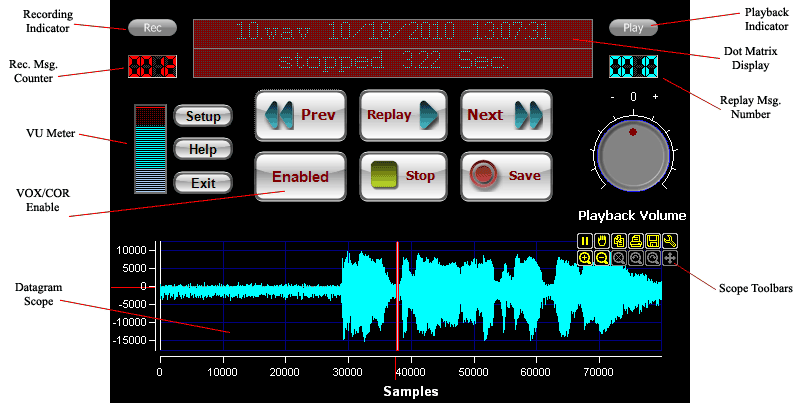
The main console screen consists of two sections, the control panel (top half) and Scope display (lower section). All controls are operated using a single click of the left mouse button unless otherwise indicated.
2.1 Control Panel buttons
Enabled - turns the automatic recording (VOX or COR) on or off. Use the OFF position as standby mode to ignore received audio. Button will indicate "Standby" when disabled. May require a password if set by administrator.
Replay - Replays the last or most recentl automatic recording. Message # will be shown on the counter at right. File name and date/time recorded will be shown on dot matrix display, as well as duration of message while playing.
Prev - Replays previous message. Playback index counter is decremented once per click until current message is reached.
Next - Replays next message. Playback index counter is incremented once per click until current message is reached.
Stop - Stops playback (or recording if using Manual mode) .
Save / Rec - In VOX/COR mode, Save button will place a copy of the current playback message into the Saved Recordings Folder for later retrieval. These files will not be deleted or overwritten by the software.
Setup - Opens the Settings window.
Help - Opens the online user manual (this file).
Exit - Click to close and exit iRecall. May require a password if set by administrator.
2.2 Visual Indicators
2.2.1 Play/Rec lamps - show whether playback or recording is active:
Legend Not active Playing Recording VU Meter - shows relative level of selected audio input. Scale is 0 to 100% and should be used as an aid when adjusting VOX Threshold.
2.3 Datagram (Scope) Display - provides a visualization of the playback file. May be disabled in the Settings->Program tab.
2.3.1 Replay segment of a message - Once a message has been loaded using the Replay, Prev or Next button, any starting point can be selected positioning the mouse pointer at the desired position, then double-clicking. Replay wil begin immediately from that point. You can also click once to move the scope cursor, then click Replay. Click Stop at any time to halt playback.
2.3.2 Scope Toolbars - provide a number of functions including zoom, pan, freeze/resume, save and print. Click the "X" tool button to restore previous settings. Any changes to scope parameters will not be saved after program is closed.
2.4 Playback Volume - Rotate left (CCW) of center (zero) to cut volume, or right (CW) to boost playback volume up to 200%. Note that this control is not the same as the Windows master volume control. It is therefore possible to cause clipping if recorded level is high.
3. Preferences [Settings] Window
To access the settings screen :
From the console window , click the Setup button.
Click here for help on Settings.
4. Windows Volume Control
This section is provided as a reference - it should not normally be necessary to adjust these settings for proper operation of iRecall.
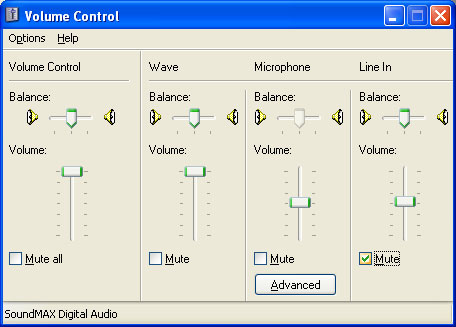
Windows Volume Control (Output): [Windows 95, 98, NT, XP, 2000, ME] - scroll down for Windows 7 / Vista.
This screen controls the sound card OUTPUTS and will generally have no effect on the decoder, since it uses the sound card INPUTS, which are controlled by the Recording Control (see next section below).
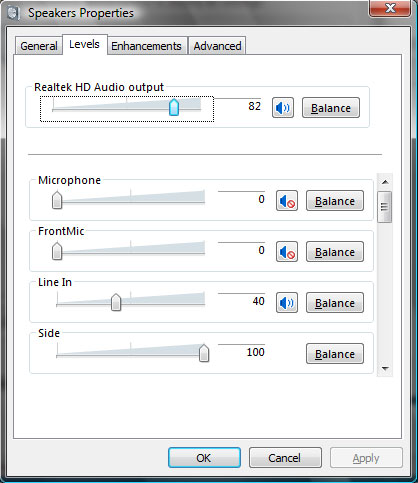
Windows 7/Vista playback [output] settings, accessible from Windows Control Panel
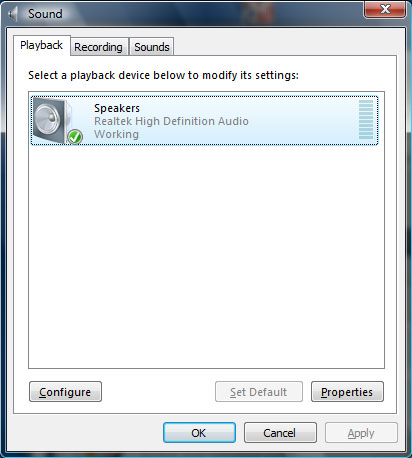
Click "Properties" then select the "Levels" tab for playback mixer controls. Again, these controls will have NO effect on the decoder's operation:
5. Windows Recording Control
This control may be accessed by clicking the MIXER button in Settings->Audio Source tab.
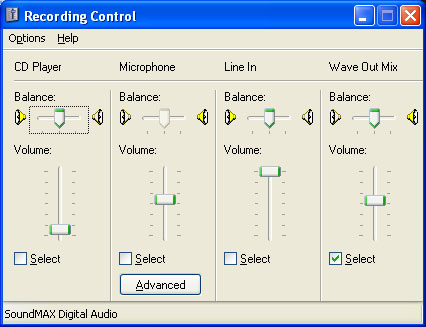
[Windows 95, 98, NT, XP, 2000, ME] - affects sound device INPUTS, such as LINE , AUX, Wave, or Microphone. Vista/7 users, scroll down.
To access Recording controls, click the Mixer button in the Settings window, or with a double-click on the speaker icon in your system tray. Select "Options" from the menu, then "Properties." Click the "Recording" radio button. Input should be selected here. See iRecall Audio settings.
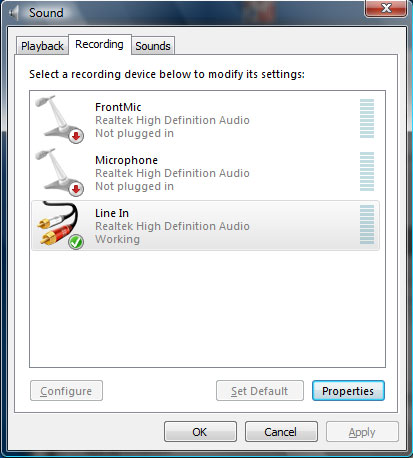
For Windows 7 / Vista Users, click the Mixer button in the Settings window. Line In is selected in the example below.
Click Properties then select the Levels tab for Line In level control. This sets the audio level sent to the Decoder.
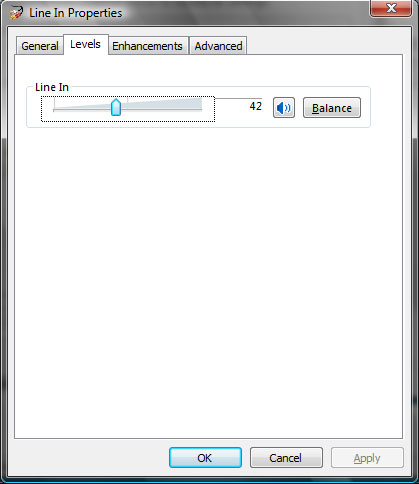
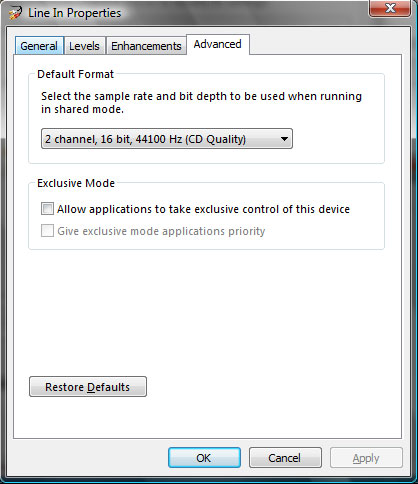
Additionally, the program may be given exclusive control of the selected device by checking the box below. This prevents the user from accidentally changing settings for this device. While not required, this option may be helpful in some cases.
